When you need to share a photo of a rash or body part with your GP, it is important to capture a clear and accurate image. This helps us to provide you with the best possible advice and care. Sending images that do not follow this guide may delay the care you receive as we might ask you to send further image.
Follow these steps to take a good photo:
Good Lighting: Ensure the area is well-lit. Natural daylight is best, but if that’s not possible, use a bright indoor light. Avoid using the flash as it can create glare.
Focus: Make sure the camera is in focus. Tap on the screen where the rash or body part is to ensure it’s clear and sharp.
Background: Use a plain background if possible. A neutral colour like white or beige helps to highlight the area of concern.
Distance: Take the photo from a medium distance. If the rash or area is small, you may need to take a close-up shot. Ensure the entire affected area is visible in the photo.
Multiple Angles: Take photos from different angles to provide a comprehensive view. This can help the GP to better understand the extent and nature of the issue.
No Filters: Avoid using any photo filters or editing tools. The image should be as natural and true to life as possible.
Include a Reference: If possible, include a common object (like a coin or ruler) in the photo for size reference.
Privacy: Ensure that the photo only includes the affected area and does not capture any unnecessary personal details. Please do not send us intimate images which may include breasts or genital areas.
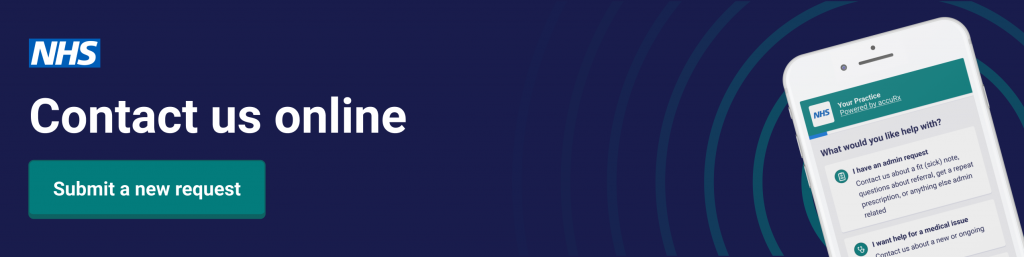
To submit an online form and your images, please click the image below.